Many companies assume that embroidering a logo is straightforward — you send the logo file to the embroidery shop and a few days later the finished products arrive. In reality, before any machine starts, the logo goes through a process called digitizing. Digitizing is the step where a vector logo is converted into a file format the embroidery machine understands. And it is the quality of the digitizing that determines whether the final result looks crisp and precise — or blurry and puckered.
In digitizing, an experienced specialist decides three things: the direction the needle moves across each area, which areas are filled with which stitch type (satin, fill or run stitch) and the order in which the machine sews the areas. These choices are made based on the logo’s geometry, scale and the fabric. The same logo is digitized differently when it goes onto a 10 cm back print than onto a 2 cm chest mark — simply scaling is not enough.
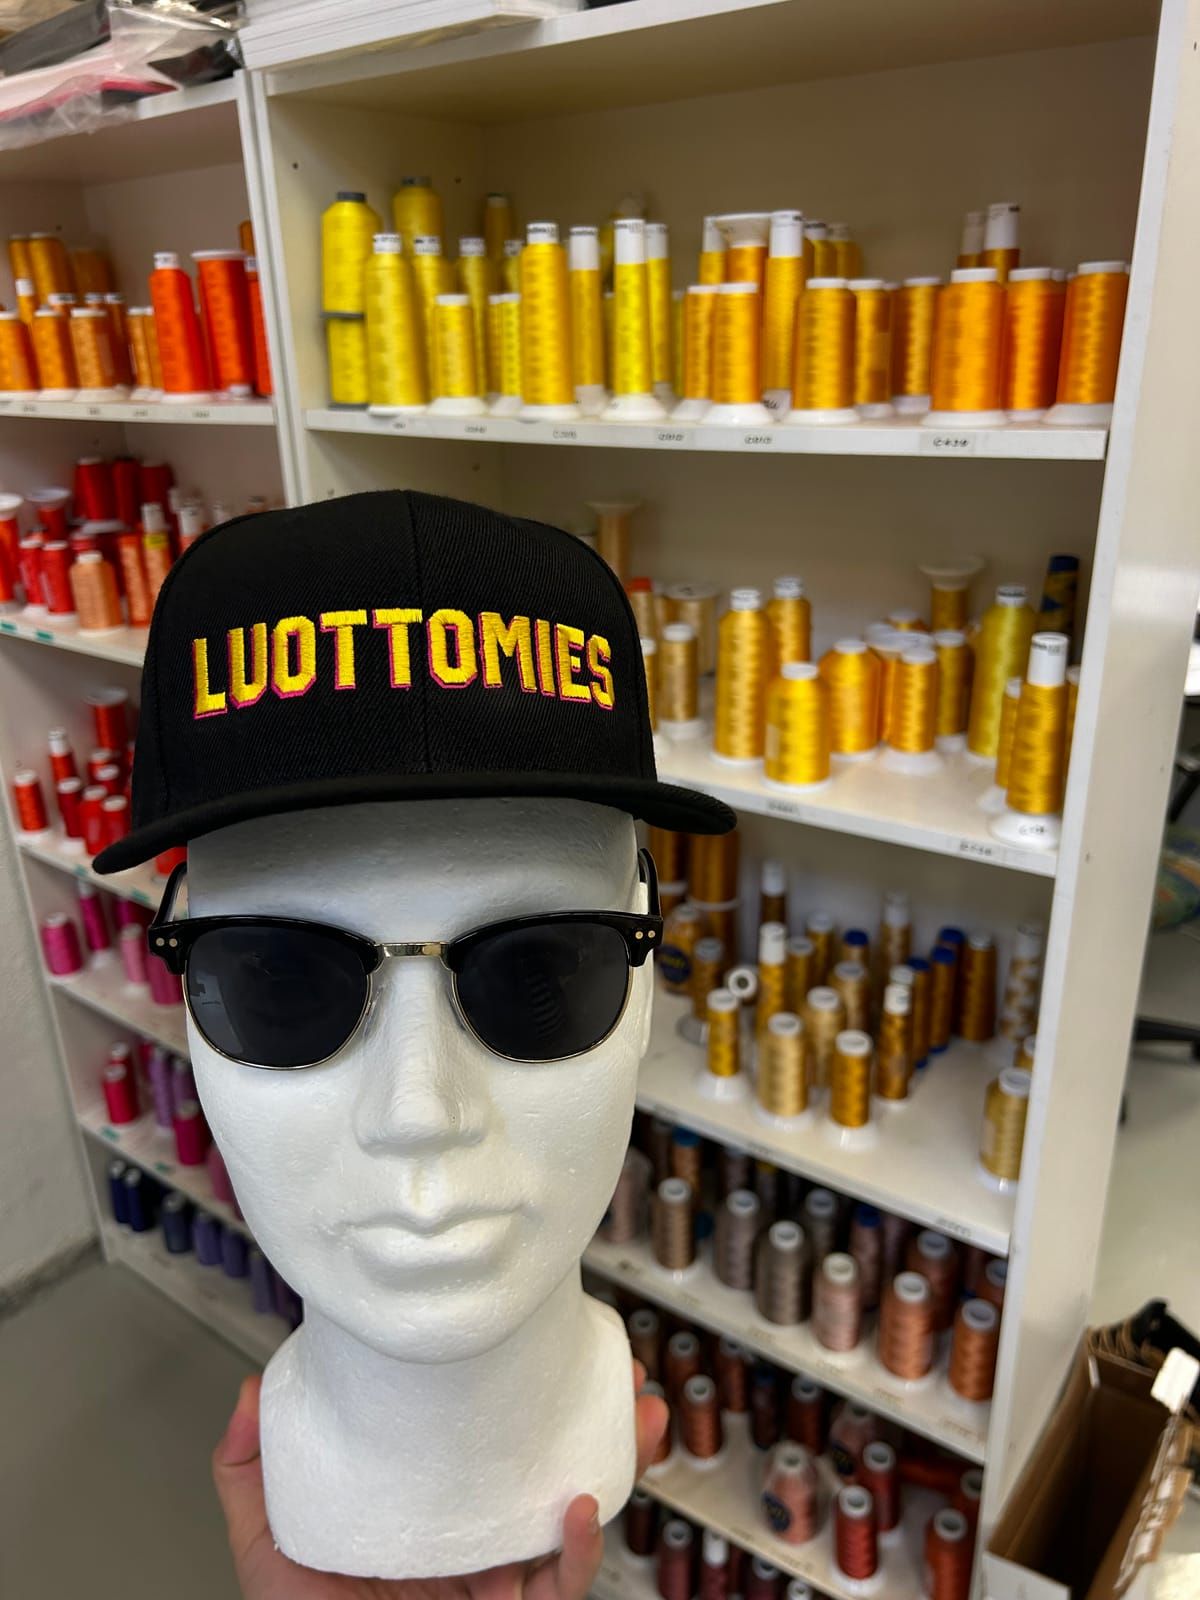
The most common mistake we see in customer-supplied logos is details that are too small. For example, a thin tagline beneath a company name can look elegant in the digital design, but when embroidered as a 2 cm chest mark, the individual letters merge into black blobs. We generally recommend that the minimum text height in embroidery is at least 4 mm, and the thinnest lines at least 0.8 mm wide.
Another common issue is colour shades that cannot be reproduced in thread. In embroidery, colours are chosen from a thread manufacturer’s colour chart (e.g. Madeira or Isacord), and the range covers hundreds of shades — but not an infinite number. If a company’s brand colours are very specific (for example, an unusual turquoise gradient), we recommend selecting the closest matching colour from the thread chart and sticking with it across all future orders.
A good digitizer also applies a so-called "pull compensation" to the logo: as the needle passes through the fabric, the fabric stretches slightly and the logo can look compressed. In digitizing this is corrected by making the areas slightly wider than in the original artwork — just enough that the finished embroidered logo appears optically correct. Automatic software cannot do this adjustment as well as an experienced human.
Digitizing is usually a one-off cost: once the logo has been digitized, the same file works identically for all future orders. Brandix stores our customers’ digitized logos in our own system, so a repeat order a year later looks exactly the same as the first batch — same colours, same tension, same details. This is essential for the consistency of a corporate brand.
Before actual production we create a sew-out sample for the customer: one product is embroidered and photographed, and the customer approves the result before the full run is launched. If the sample reveals anything to correct (colour shade, stitch density, size), the changes are made to the digitizing file and a new sample is run. This step is always worth taking — investing a little extra time saves thousands of euros if the mistake is only found in a finished run of a thousand pieces.